MultiMC Modded Server setup: Difference between revisions
(Created page with "1. Download server installer: https://api.modpacks.ch/public/modpack/95/2233/server/windows 2. Run the installer in whatever folder. It's throwaway location 3. In MultiMC make a new vanilla 1.18.2 instance File:Multimc_new_instance.png 4. Once instance is created, go to Edit Instance, click Install Forge on the right, select 40.1.54 and click OK File:Setup_forge.png 5. Go to "Loader Mods" on the left pan, select Add on the right pane, add everything in the...") |
No edit summary |
||
| Line 20: | Line 20: | ||
8. Optional: Set the instance to use the JRE that the server downloaded (folder picked above) if you don't have Java 17 | 8. Optional: Set the instance to use the JRE that the server downloaded (folder picked above) if you don't have Java 17 | ||
[[Category:Minecraft]] | |||
Latest revision as of 23:11, 24 April 2023
1. Download server installer: https://api.modpacks.ch/public/modpack/95/2233/server/windows
2. Run the installer in whatever folder. It's throwaway location
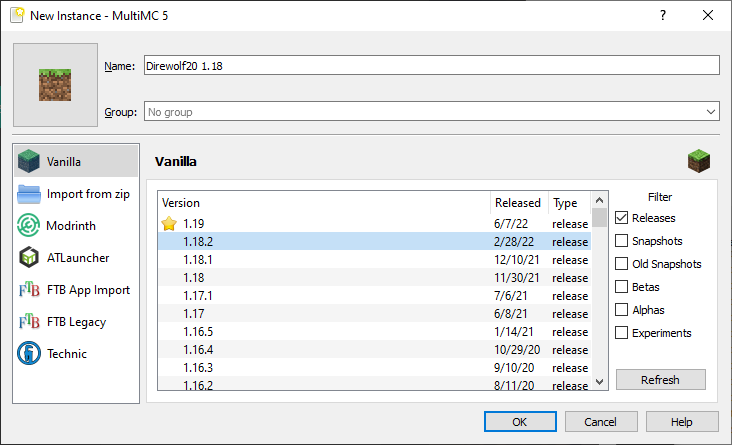
3. In MultiMC make a new vanilla 1.18.2 instance
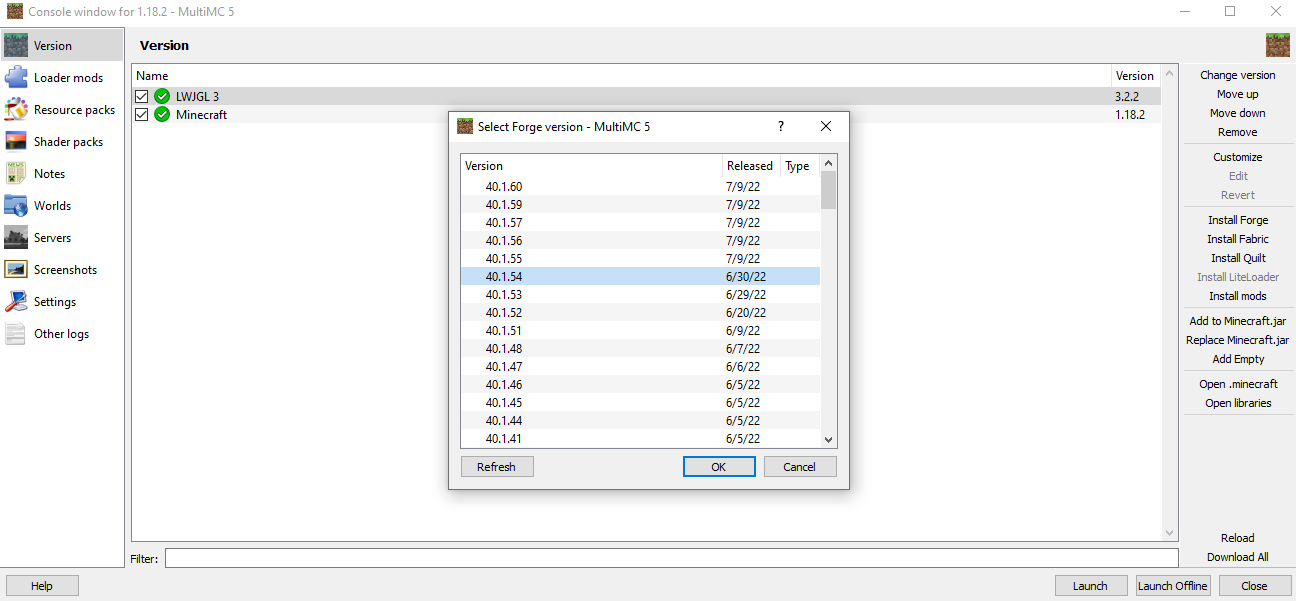
4. Once instance is created, go to Edit Instance, click Install Forge on the right, select 40.1.54 and click OK
5. Go to "Loader Mods" on the left pan, select Add on the right pane, add everything in the mods folder from the server installer above (Ctrl+A/your multiselect method of choice all the files in the folder, will take a minute)
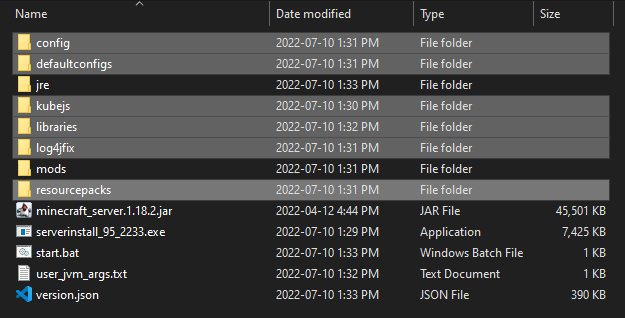
6. Once finished, click "View Folder" to open the location of the Minecraft instance, navigate up one directory (should be in .minecraft). Copy the following folders from the server installer location to this .minecraft folder: config, defaultconfigs, kubejs, libraries, log4jfix, resourcepacks
7. Launch instance
8. Optional: Set the instance to use the JRE that the server downloaded (folder picked above) if you don't have Java 17


